Beginner guide
First-hour plan for Roblox Is Unbreakable: get your first Stand with an Arrow, spend skill points, pick a levelling route and avoid the early mistakes.
The order that actually works
RIU does not gate progression behind a long quest chain. It gates it behind levels, and levels come from doing Trials and story content. So the early plan is short:
- Tutorial, then shop. Walk the tutorial, then get an Arrow. Arrows can be bought with Robux or crafted from a schematic, and the game shows you the exact success rate when you click one — it scales with your level, which is why a low-level Arrow often fails.
- Keep the first Stand you pull. Every Stand can be built into something usable, and re-rolling early costs arrows you do not have yet.
- Learn the player skill tree before the Stand tree. The player tree is 77 skill points across Vitality, Strength, Agility and Defence, and it helps you on every Stand you will ever own. Stand trees are per-Stand and reset when you swap.
- Save a build with X. Build slots live inside the skill tree screen. Save the moment something works.
- Farm Trials for levels. Trials are boss fights you reach by talking to Funny Valentine or clicking Trials in the main menu. Rewards are EXP and cash, and item drops are shared with the whole run — so doing them in a squad is not a loss.
Skill points, weights and why your build feels slow
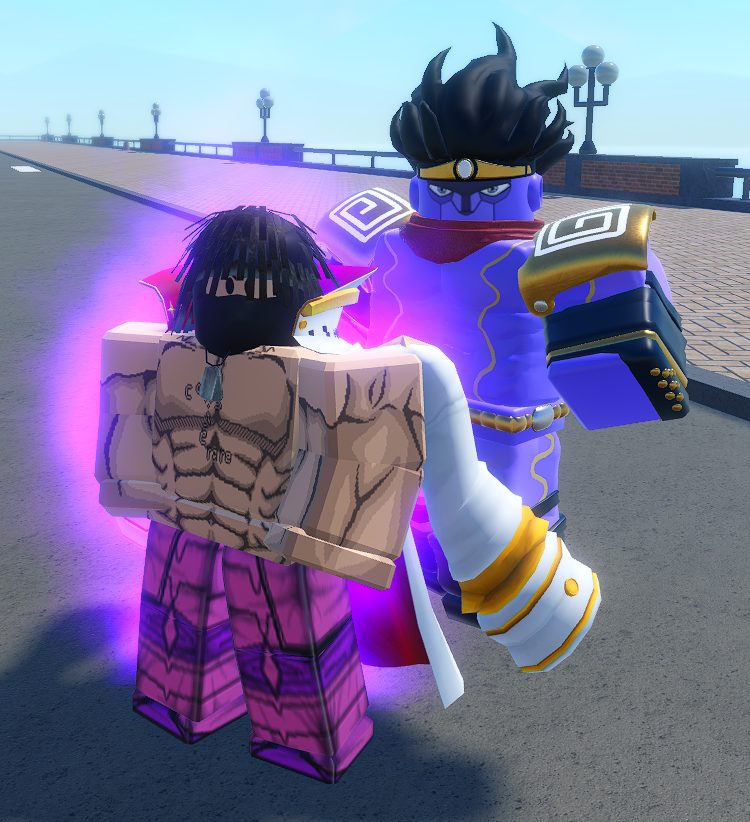
Every outfit piece has a weight, and weight comes from the resistances a piece gives you. Heavy gear slows the movement side of your kit down. That is why two players with the same Stand can feel completely different: one is built around a light, fast loadout and the other is carrying maximum resistances.
| Branch | What it controls | First pick for most players |
|---|---|---|
| Vitality | How much damage you can take before going down | Take a few points early so a Trial wipe does not reset your run |
| Strength | Attack power, and how much equipment weight you can carry | Main damage branch |
| Agility | Sprint and dash distance; the branch that fights weight | Take this if your gear feels heavy |
| Defence | Block HP and how long you can hold a block | Worth it once you are fighting Trials regularly |
Levelling routes, ranked by what they cost you
| Route | Reward | Why you would pick it |
|---|---|---|
| Trials | EXP + cash, shared boss drops | The default. Go with a squad when you can — drops are shared, so more people does not dilute your loot |
| Story parts | Progression unlocks, some outfits | Do these when a Stand you want is locked behind a part |
| Excavation | Schematics, components, rare outfits | Best done when you are away from the keyboard: it pays out on a timer, not on skill |
| Ranked 1v1 | MMR and rank, not levelling | The official board itself warns that below level 100 the experience gap is brutal |
What to do in week one
- Get to a level where an Arrow is not a coin flip, and keep one spare Arrow banked.
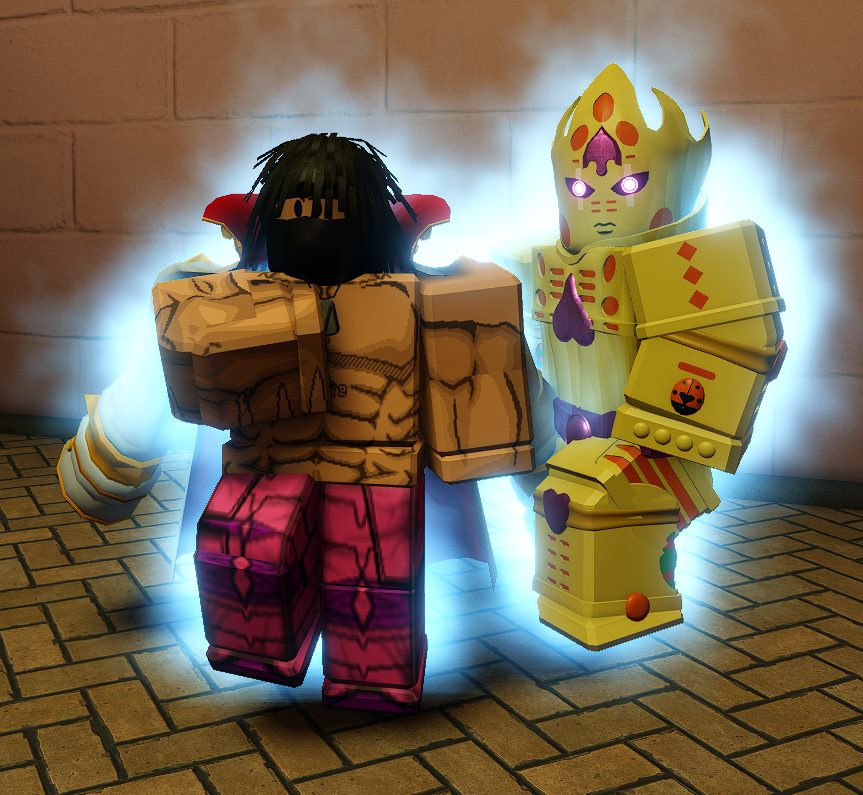
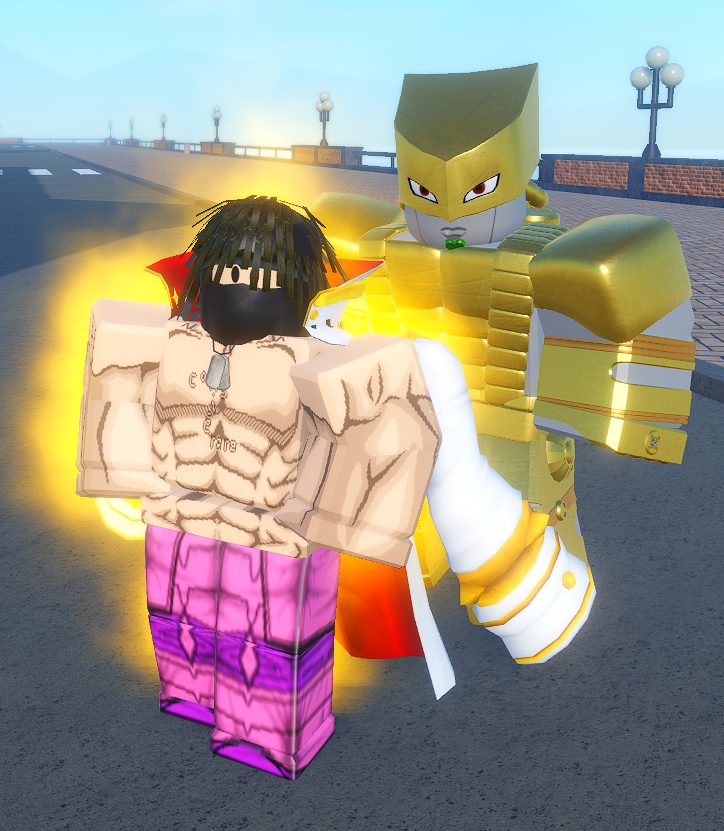
- Decide whether you are building toward an evolution. Star Platinum → Star Platinum: The World needs the DIO Trial cleared while Star Platinum is equipped; Gold Experience → Gold Experience Requiem needs a Requiem Arrow instead.
- Start collecting crafting components. Most outfits in the game can only be obtained by crafting, and schematics are consumed when you use them.
- Bookmark the Stands list before you spend skill points — some trees are far more expensive than others.
FAQ
Can I lose my Stand? Only through a deliberate reset — the Whitesnake NPC resets your Stand or speciality.
Is there a level requirement for anything important? Codes need level 20; Ranked is officially recommended for level 100+.